Have you ever tried to open your website on your laptop, but it wouldn’t open? Frustrated, you switch to your phone, use mobile data—and it loads instantly.
What’s going on? Why would it work on one device and not on another?
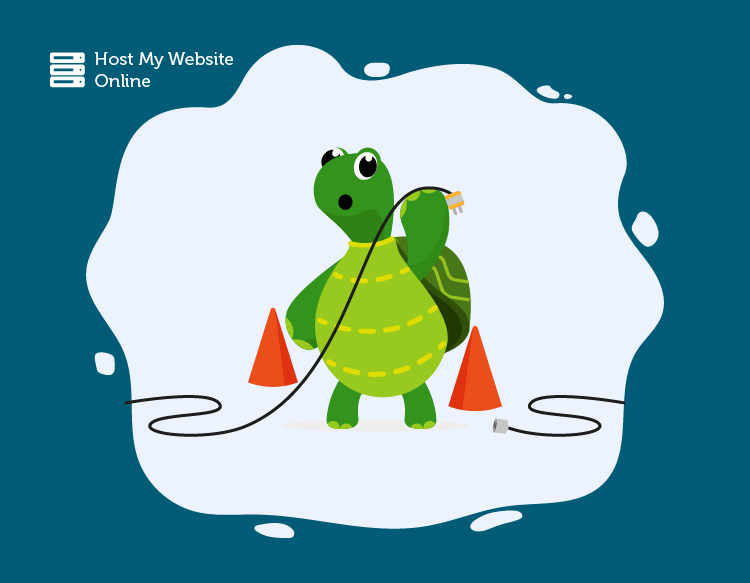
This issue is surprisingly common, and the culprit is often the DNS cache.
Understanding DNS cache is crucial because it directly impacts your ability to access websites smoothly, saving you from unnecessary frustration.
But when the DNS cache malfunctions, unexpected issues may arise.
Sites that should load, don’t. Others may load slower than they should, or you might get errors when there’s no real issue with the site itself.
The Solution: Flushing Your DNS Cache
The good news? This is usually an easy fix.
All you need to do is flush your DNS cache—basically, this means clearing out the stored DNS records so your device can fetch updated information.
And no, you don’t need to be a tech guru to do it—it’s simple enough for anyone.
In this blog post, we’ll guide you step-by-step on how to clear the DNS cache in both Windows and Chrome. You’ll learn what DNS caching is, how it affects your browsing experience, and how to resolve those mysterious loading problems.
You might be a blogger, a small business owner, or managing a website—this guide is for you. We’ll walk you through it all, helping you ensure your website loads smoothly for you and your visitors.
What’s Next?
Curious about what DNS really does, or why clearing the cache even matters?
Follow along: the next section dives into the importance of understanding DNS and how it can lead to faster website load times and fewer connectivity issues!
The Importance of Understanding DNS and DNS Caching
Understanding how websites are accessed can seem complex, but DNS makes it simple. It plays a crucial role in ensuring you reach your desired destination online seamlessly.
What is DNS?
The Domain Name System (DNS) is like the internet’s phone book. It matches domain names (like example.com) with IP addresses—the unique numbers that computers use to communicate.
Without DNS, you’d need to remember these numbers for every site. Not practical, right?
What is DNS Caching?
This is where DNS caching comes into play. Your device stores DNS lookup history locally—think of it as keeping a short list of phone numbers you’ve recently dialed. This local storage, called DNS cache, helps your computer remember the IP addresses of websites you’ve visited, providing faster access without repeated lookups.
Your device simply pulls it from its own memory. Simple and efficient.
Benefits of DNS Caching
The importance of DNS caching goes beyond just convenience. It boosts browsing speed and efficiency, reducing unnecessary lag.
Both your operating system and your browser have their own DNS caches, which work in tandem. The operating system cache handles system-wide requests, while the browser cache manages website-specific lookups—together ensuring faster and more reliable access to websites.
When everything is running well, DNS caching is a behind-the-scenes hero that keeps things moving fast.
Potential Issues with DNS Caching
However, problems arise when the DNS cache becomes outdated or corrupted. Imagine trying to call an old phone number that’s no longer in service—you won’t reach the person you’re trying to contact.
Similarly, outdated DNS cache information can lead to errors when trying to access websites, as your device relies on incorrect data.
A corrupted DNS cache can prevent your browser from reaching the right website, causing connection errors or pages not loading properly. Frustrating, isn’t it?
How to Solve DNS Cache Issues
The solution is simple: clear the DNS cache. Flushing it removes outdated or corrupted data, allowing your device to fetch fresh, accurate DNS information. It’s like hitting the refresh button on your device’s memory.
This is something you might need to do occasionally—especially if you notice issues accessing websites or experience unusual connectivity problems. And the best part? You can do it easily, without any technical expertise.
Next Steps
Want to know how to clear your DNS cache on Windows? Continue reading—the next section will show you exactly how to do it step by step, so you can get back to smooth browsing in no time!
How to Clear Your DNS Cache on Windows
Clearing your DNS cache on Windows can resolve connectivity issues and improve your browsing experience.
Let’s dive in with a step-by-step guide using Windows 11 as our example. These steps apply to all versions of Windows and are simple to follow.
Prerequisite: Administrator Access
Before you start, make sure you have administrator access to your laptop. Without it, you won’t be able to make these changes.
Steps to Clear DNS Cache on Windows
Follow these steps to clear your DNS cache:
 1")
ipconfig /flushdns 2")
Confirmation: You should see a message that reads: “Successfully flushed the DNS Resolver Cache.” And just like that—you’re done!
 3")
Clearing your DNS cache at the operating system level can often solve many of those odd website loading problems. But for a complete DNS cleanup, it’s best to go one step further by clearing the browser-level DNS cache as well.
Recommendation for Optimal Performance
To prevent potential conflicts and ensure the best performance, I recommend clearing your DNS cache at both the operating system and browser levels. This way, you eliminate all outdated or corrupted data—leaving no room for glitches.
Think of it as giving your device a fresh start!
What’s Next?
Want to take it a step further? Next, we’ll guide you through clearing your DNS cache in Google Chrome, ensuring your entire browsing experience is fully optimized.
Keep reading!
How to Clear Your DNS Cache in Google Chrome
After clearing your operating system’s DNS cache, the next step is clearing your browser’s DNS cache.
Why? Because even after you’ve refreshed the system-level cache, outdated or corrupted DNS information may still remain in your browser, causing issues when you least expect it.
Clearing the DNS cache in Google Chrome is simple and only takes a minute. Doing this can help resolve connectivity issues faster, making it worth the effort.
This process ensures that your browser is using the most up-to-date DNS information, helping you avoid connectivity hiccups and frustrating loading issues.
Steps to Clear DNS Cache in Google Chrome
Follow these steps to clear the DNS cache in Google Chrome:
chrome://net-internals/#dns 4")
You’ve successfully cleared the DNS cache in Google Chrome. This ensures your browser doesn’t use outdated DNS records.
Other cached files, like CSS or JavaScript, remain unaffected.
Final Tip for Optimal DNS Health
For best performance and minimal website loading issues, it’s good practice to regularly clear both your operating system’s and browser’s DNS caches. Think of it as routine maintenance—just like keeping your vehicle tuned up, it keeps everything running smoothly.
Next Steps
If you’re still experiencing issues after clearing both caches, it may be time to contact your hosting provider or seek technical assistance. The Rovity team is always here to help—feel free to reach out!